Solar Setup
 Dominik
 Our solar setup consists of the following items:
- Four 170Wp mono crystalline solar panels (Amazon.de) for a total of 680Wp
- 700Wp MPPT charge controller (Amazon.de)
- Extendable, reusable cable roof duct (Amazon.de)
- 3N 30x30mm aluminium extrusion profiles (Motedis.de)
- Polymer based construction glue (Amazon.de)
- custom angle adapters made out of 30x30x3mm 90 degree angle aluminium bars (example)
- 6 sqmm cables (Amazon.de)
- emergency kill switch
- fuses
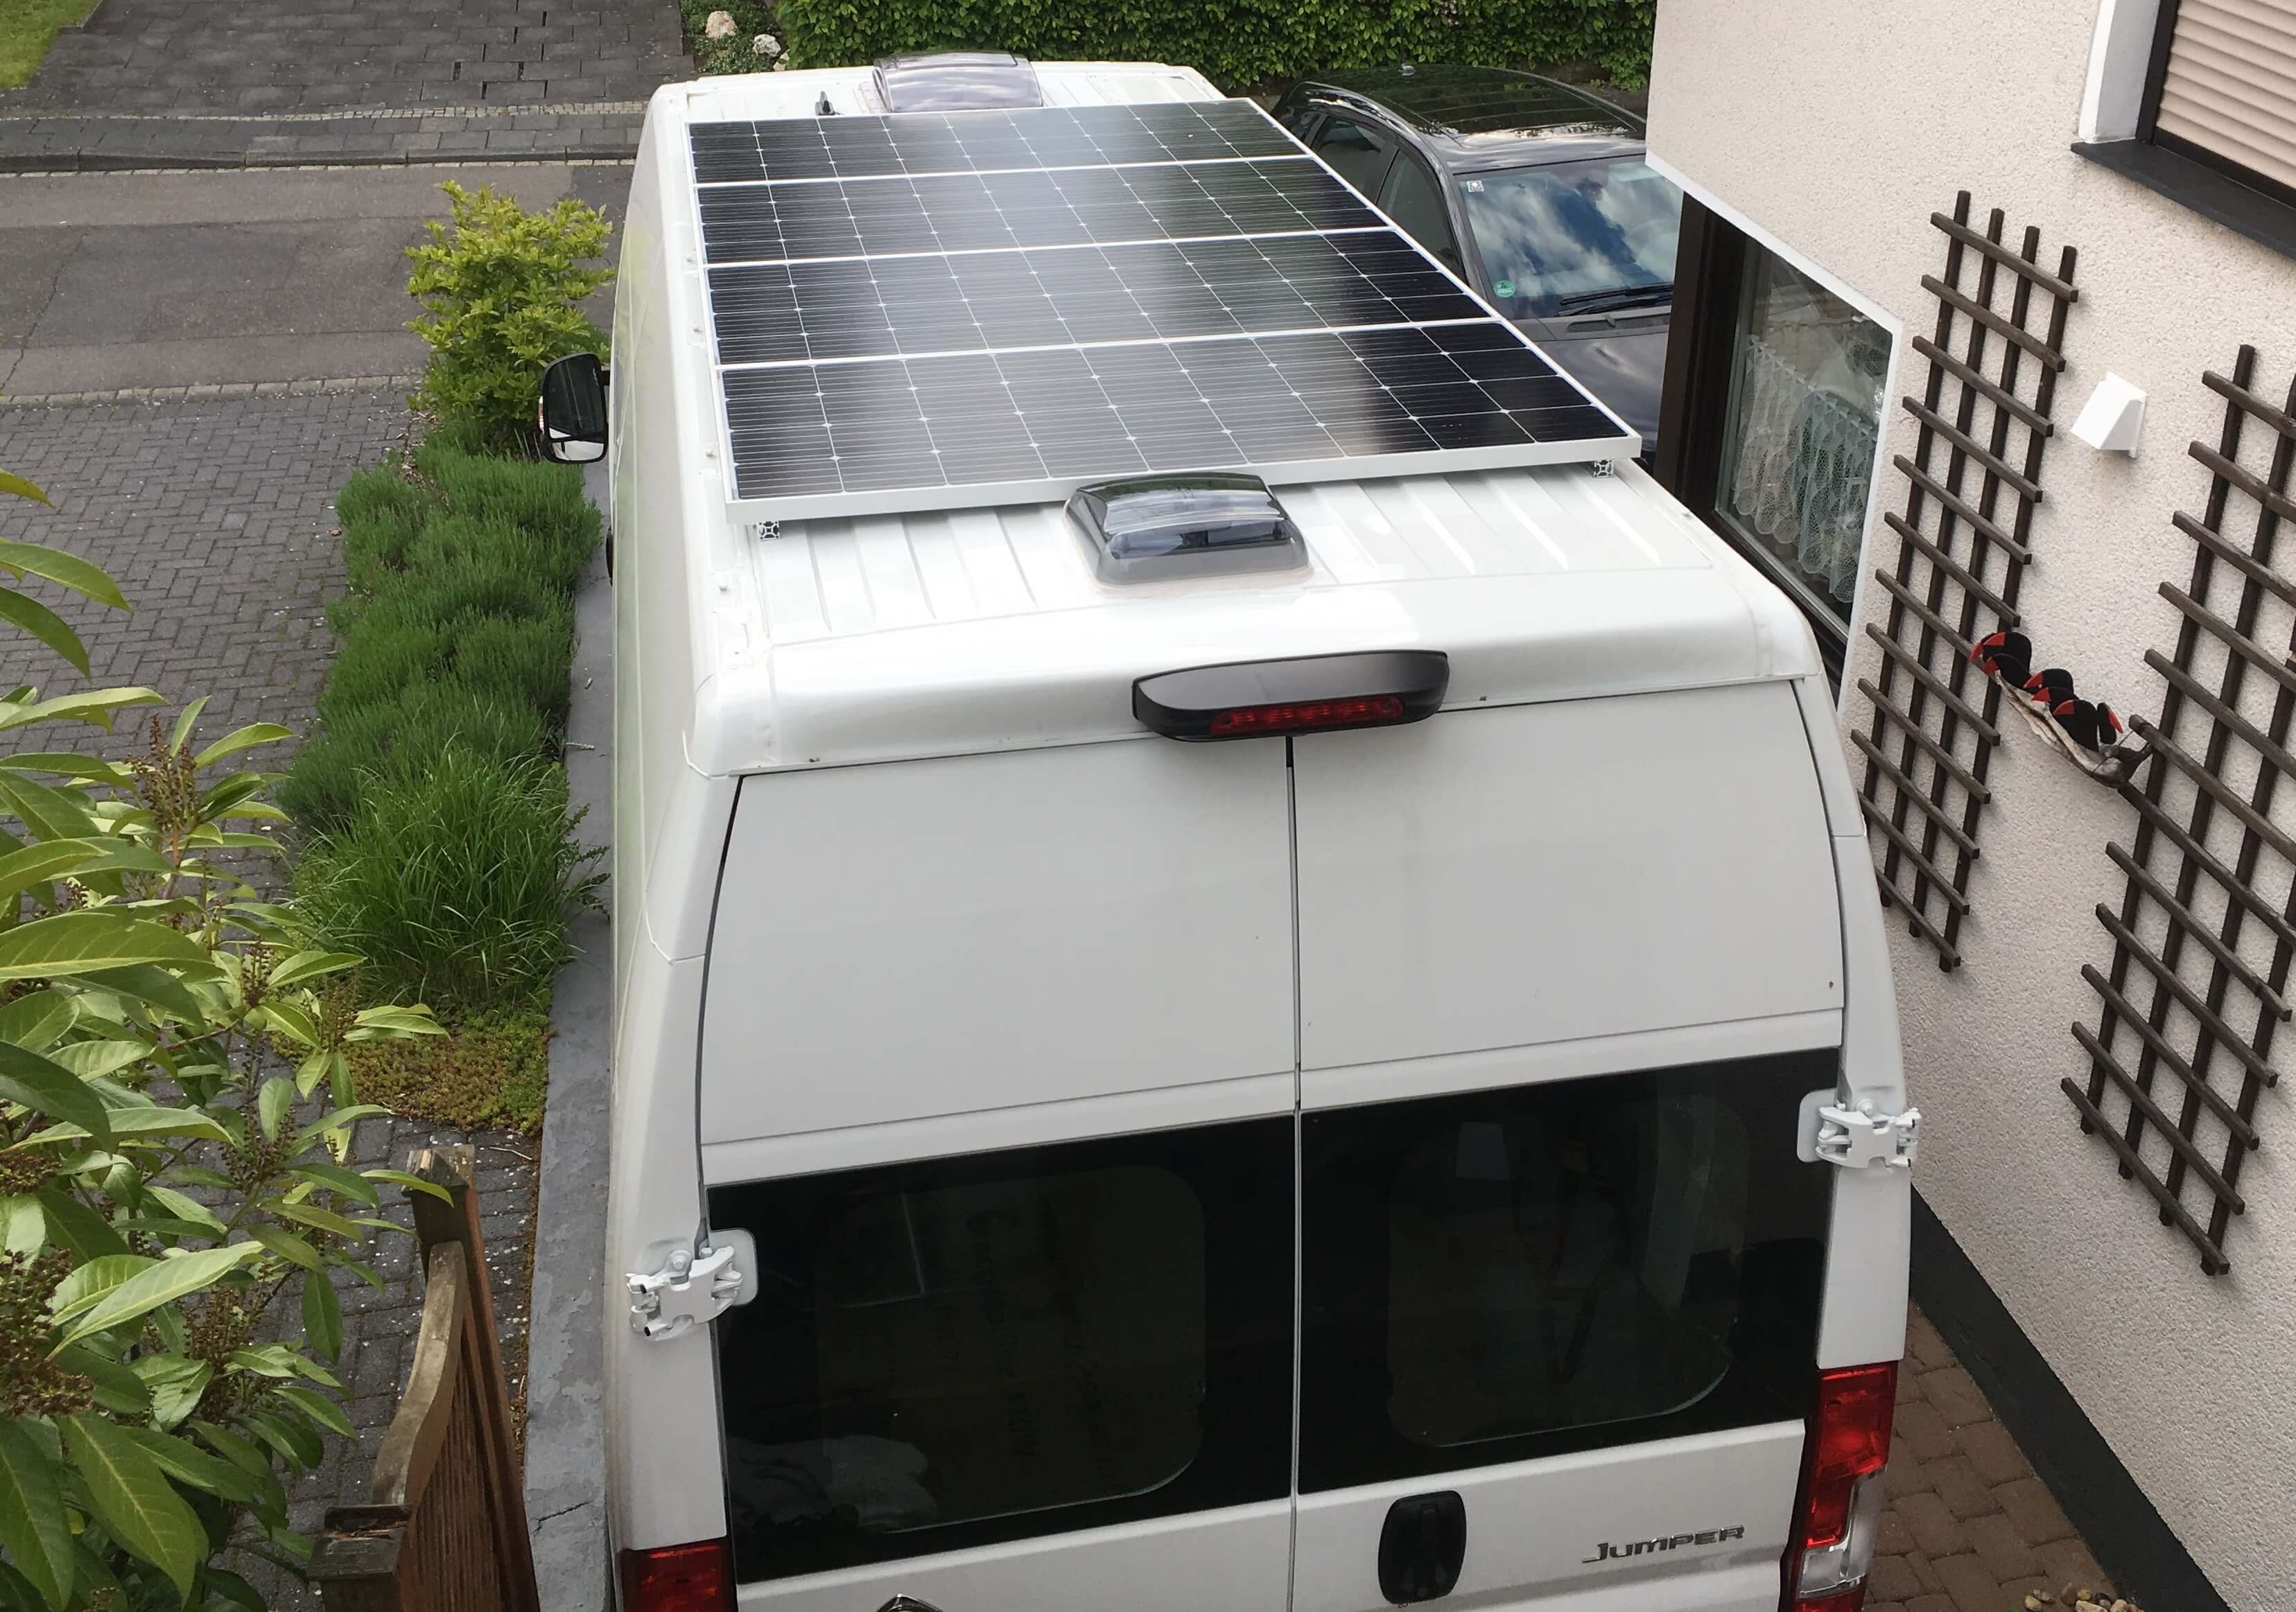
The size and amount of the solar panels was chosen to leave enough room for two roof windows. One 40x40cm window in the front with a vent (Amazon.de) and a 28x28cm window (Amazon.de) in the back. This setup allows for a nice cross ventilation while maximizing the total solar power without having to use an additional roof rack that would increase the vehicle height, weight, wind resistance and recognizability. Basically, this is the simplest and cheapest setup I could come up with that satisfies all our electrical, thermal and light requirements.
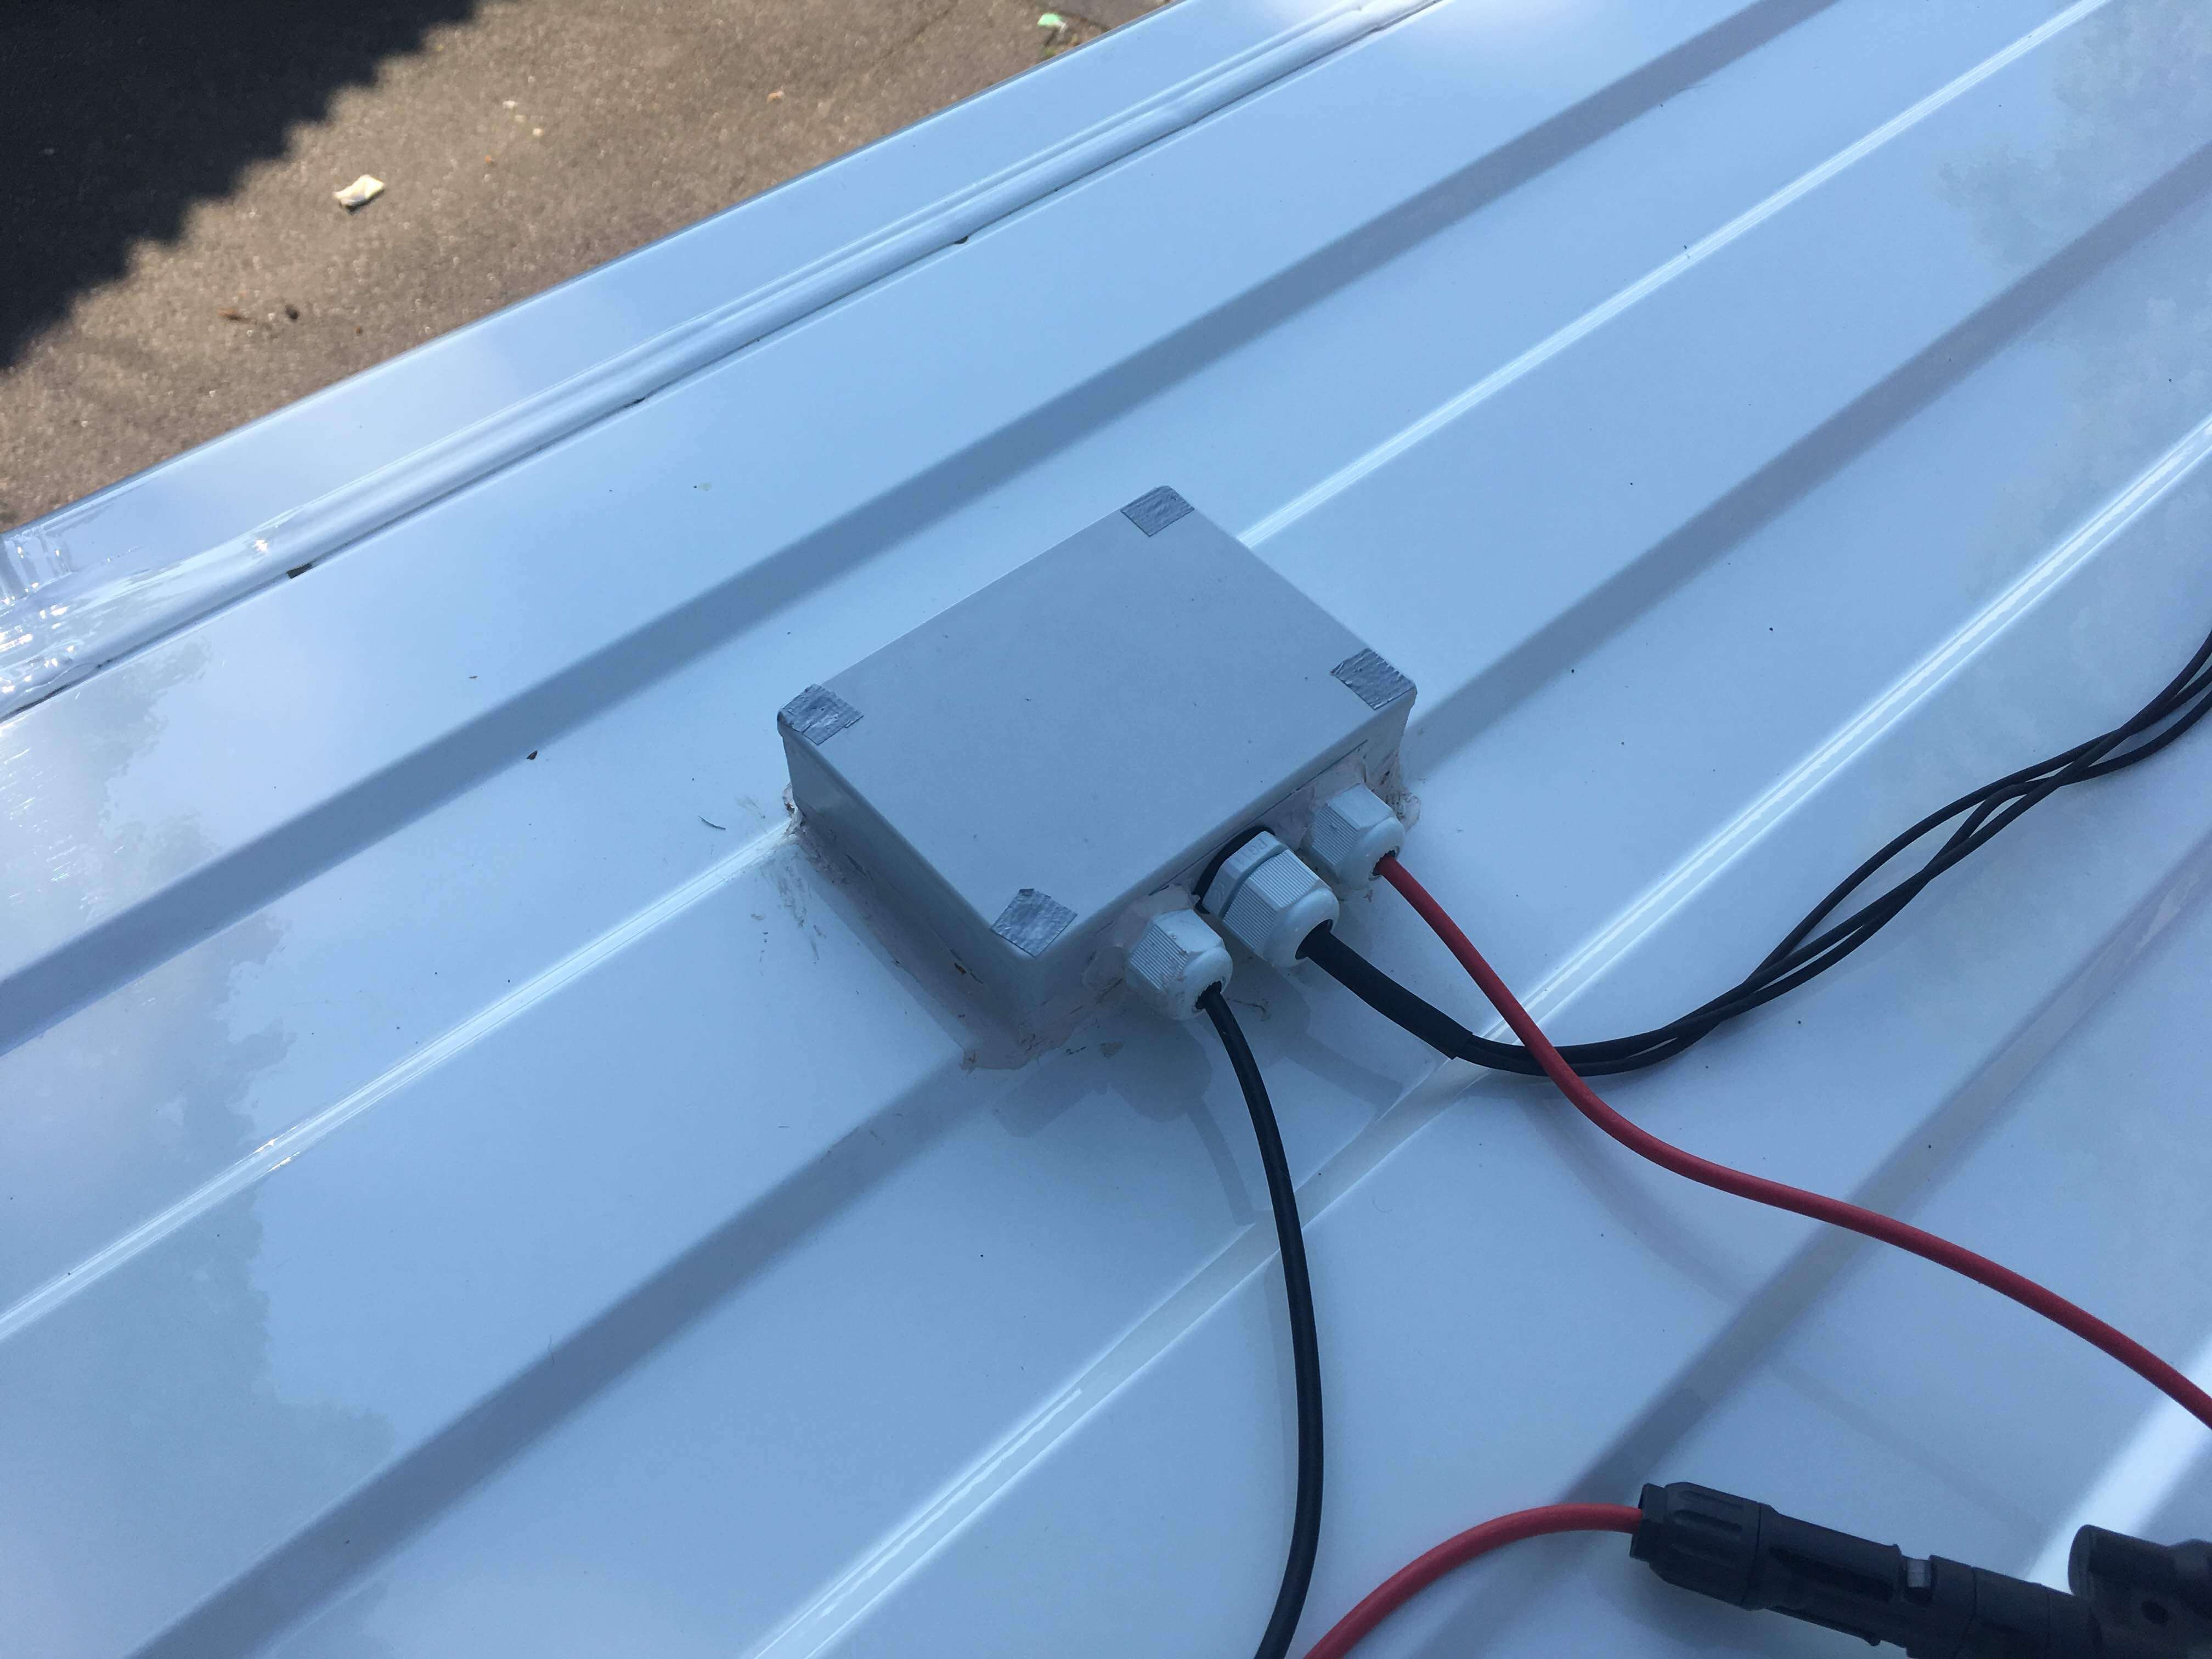
Most people buy their solar panels as a kit that comes with a cable roof duct and the construction glue. I advise against this, because the cable roof ducts are pure crap. They only allow a limited number of cables and cannot be opened at a later time in order to add an additional cable, which means you would have to drill another hole into your van. We have used an extendable, reusable cable roof duct and we have placed it below our solar panels, in order to maximize protection against rain. If you want to do this, make sure that you position the roof duct correctly, because the alumium extrusion profiles and the aluminium support of the solar panels can get in the way otherwise. We have inserted a total of five cables, two for the solar panels, two for the LTE antenna and one for the GPS antenna. The screws that hold the cover are protected against rain with simple duct tape.
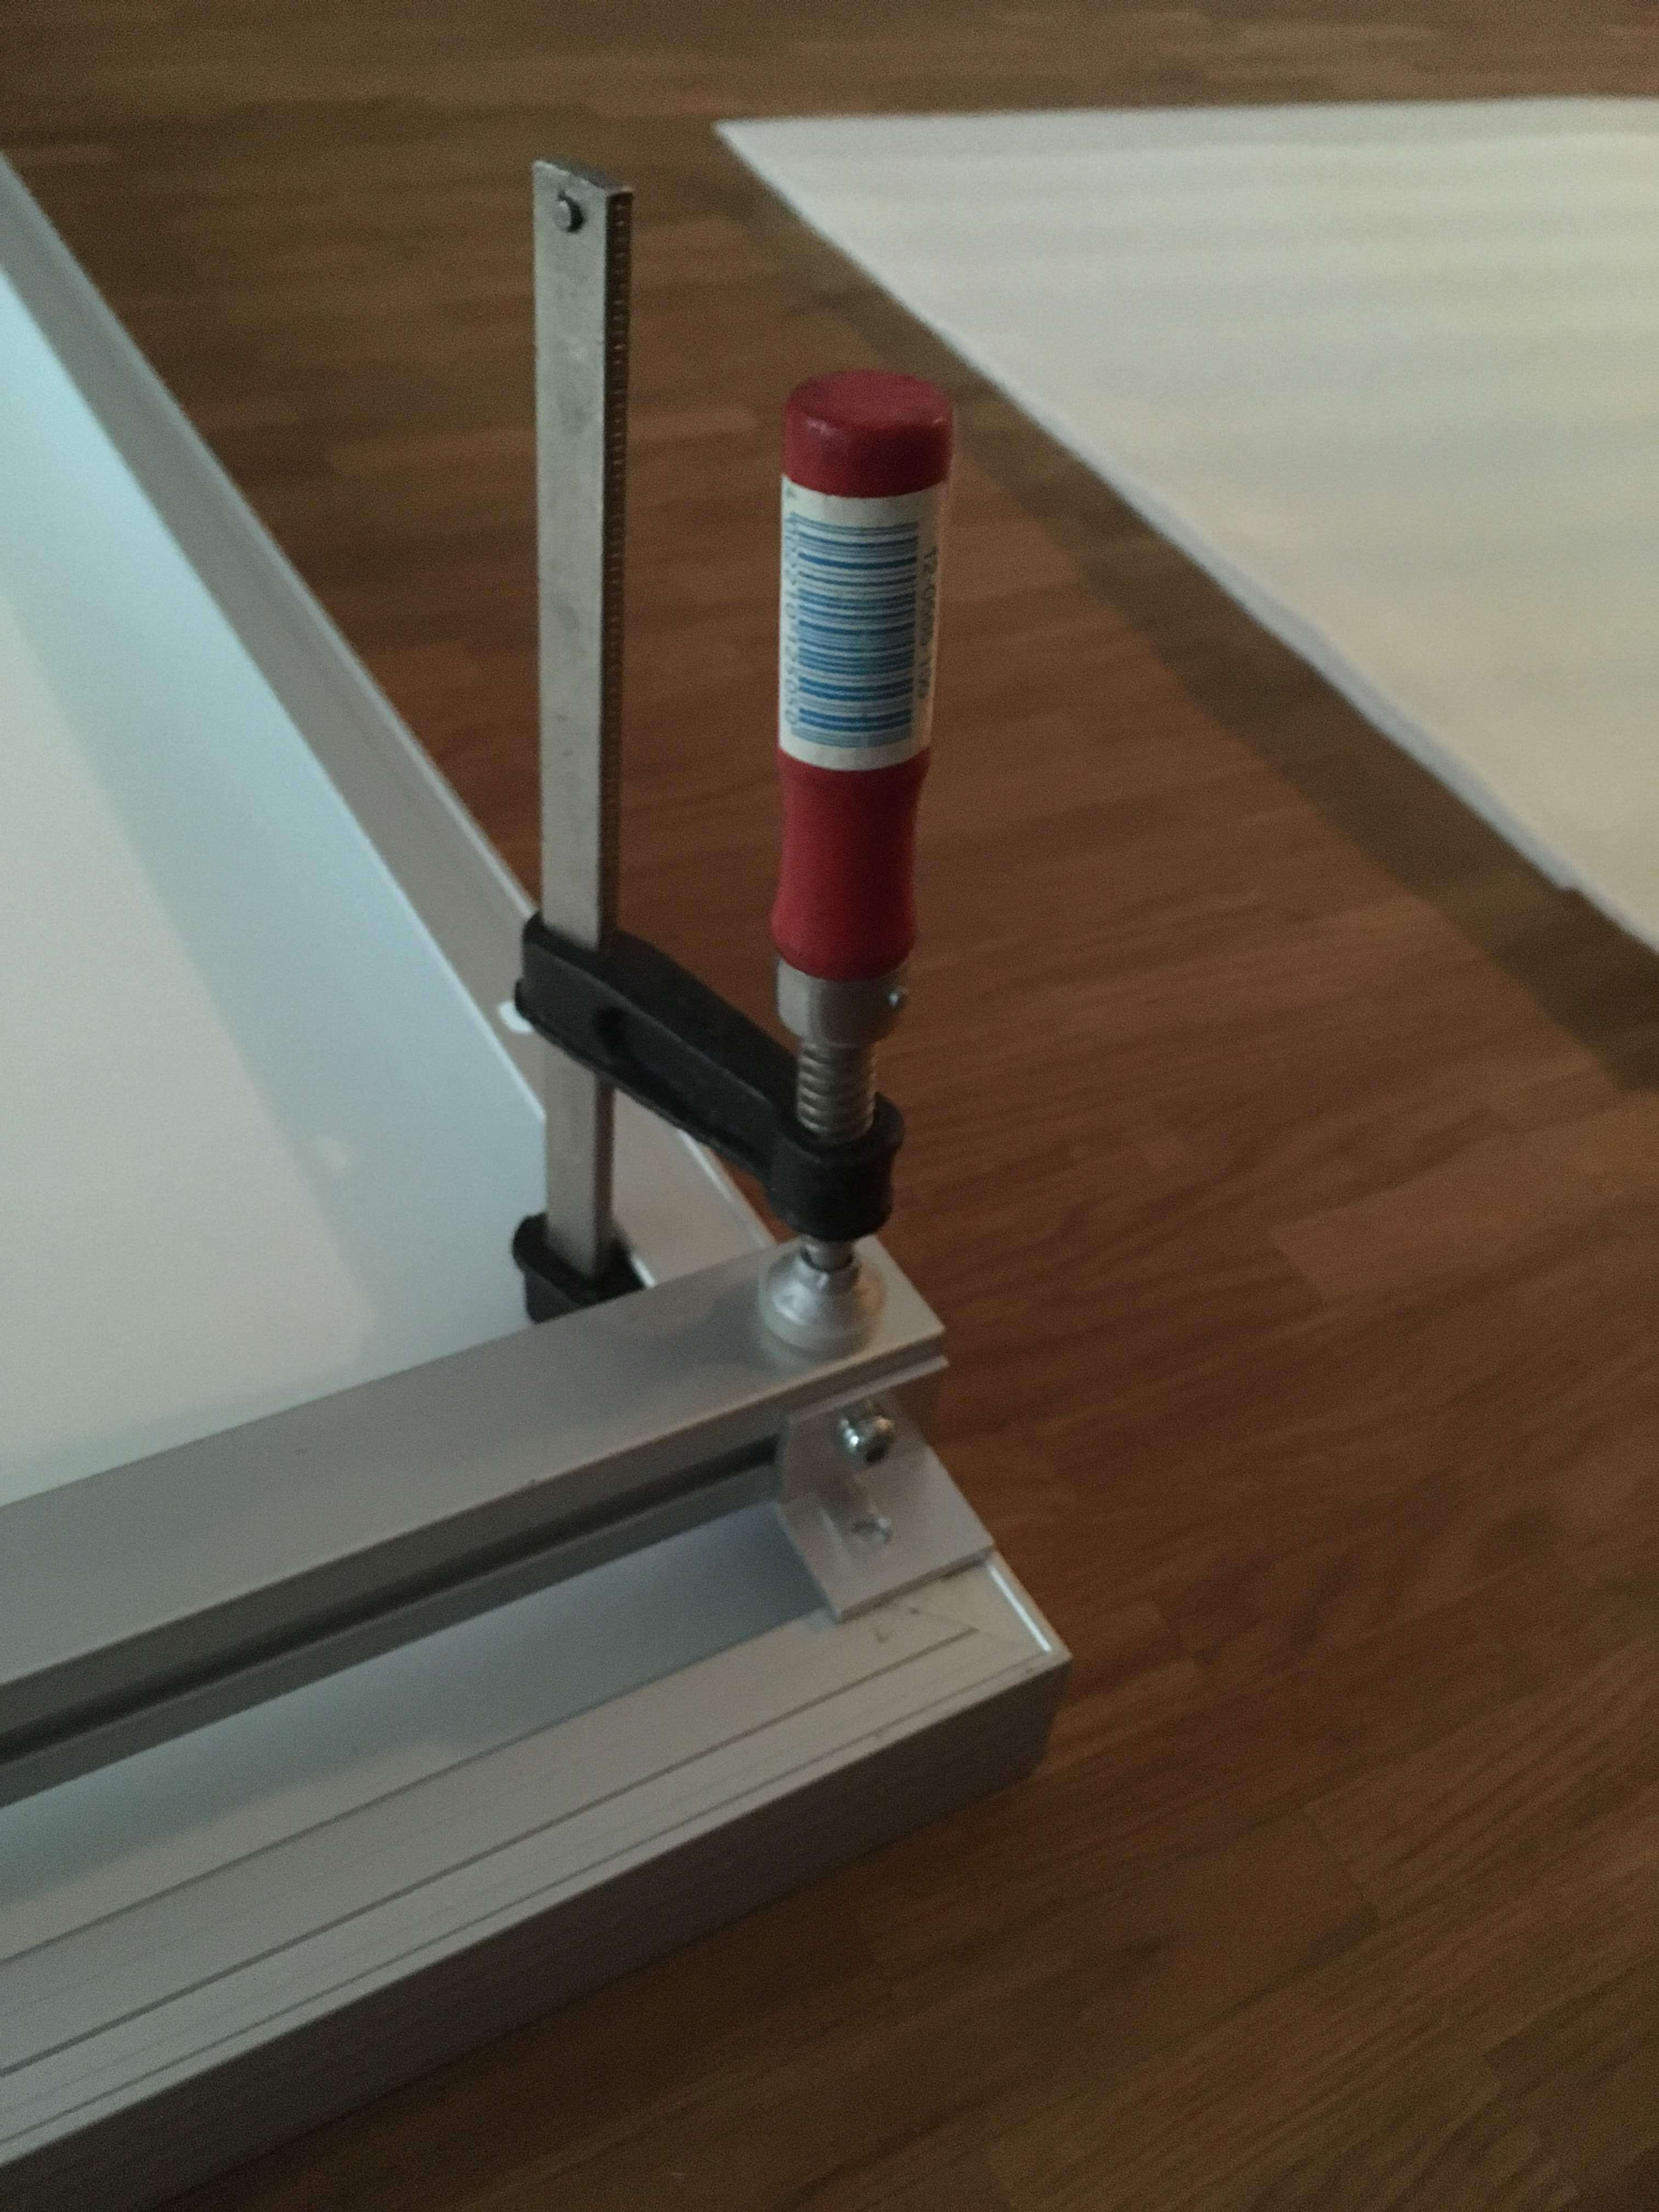
The Fiat Ducato / Peugeot Boxer / Citroen Jumper/Relay come with mounting points for a roof rack. However, I have found these roof racks to be ridiculously expensive. Therefore, we decided to glue two simple 3N aluminium extrusion profiles to the sheet metal of the roof, which is both cheap and flexible due to the amount of mounting points in the aluminium extrusion profiles. The key is to make sure that the solar panels fit correctly by preparing everything on the floor. Once the aluminium extrusion profiles are glued to the metal you have very little time to make adjustments.
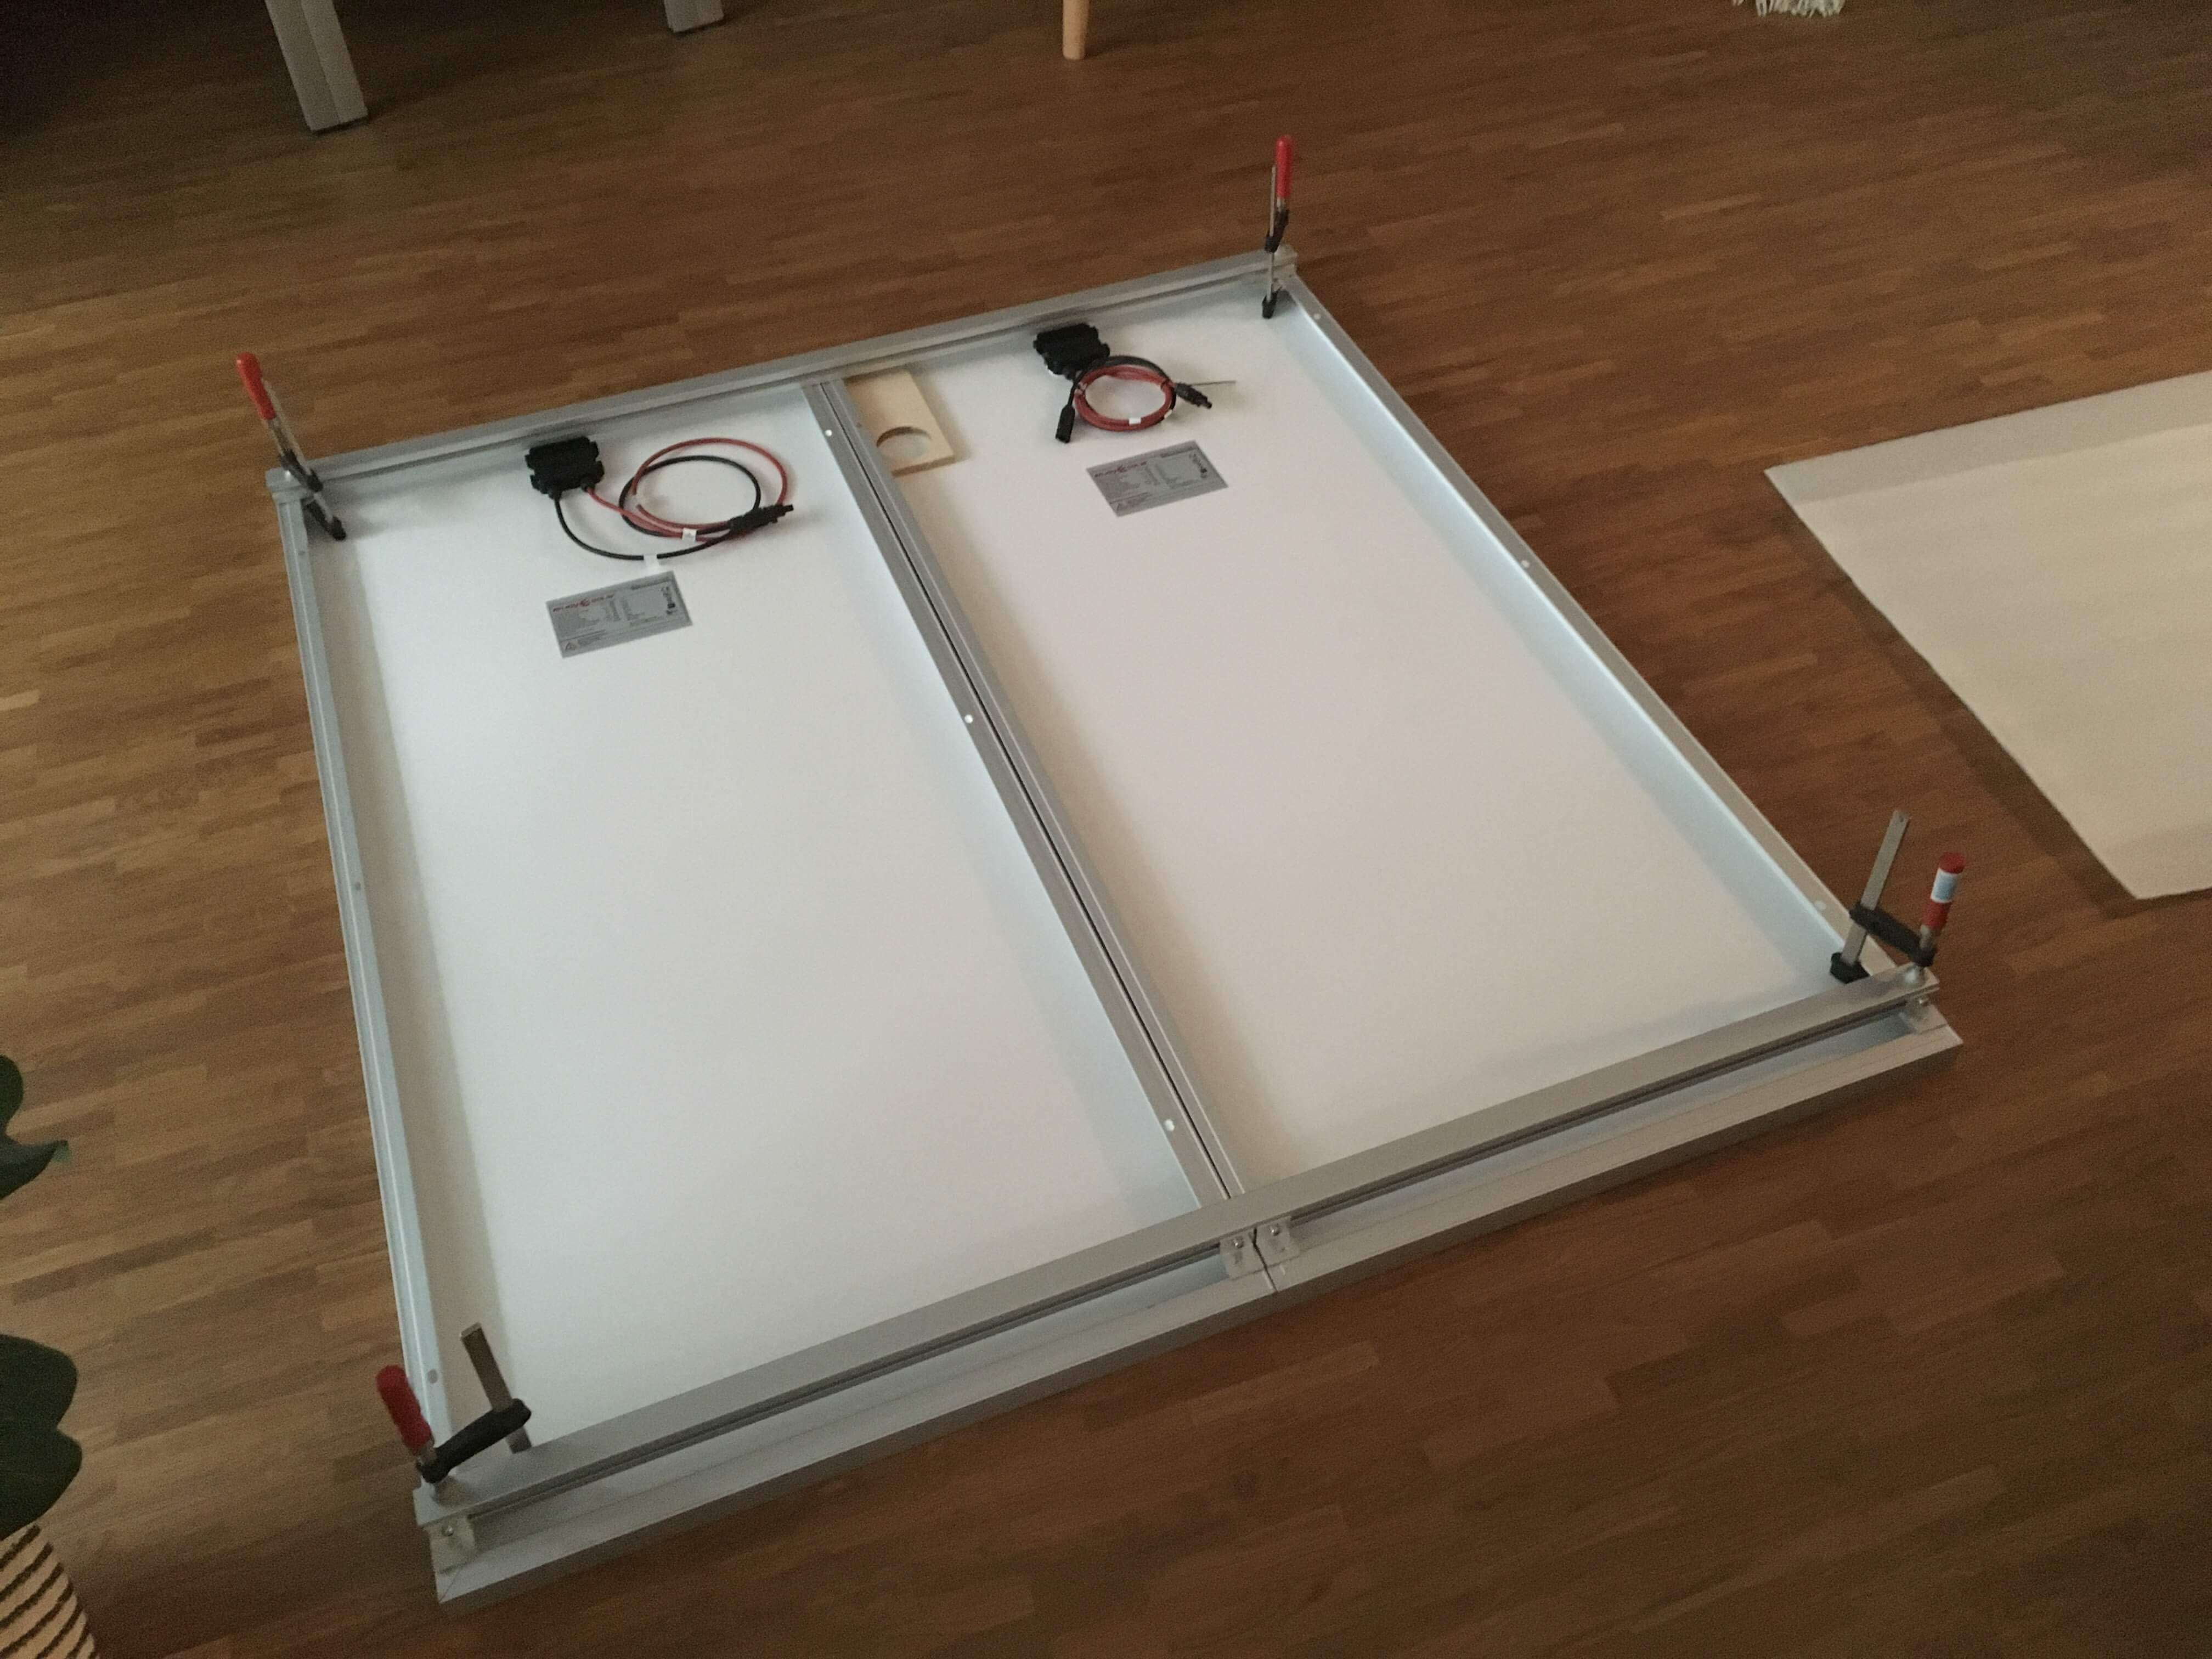
You will need to create custom 90 degree angle adapters. This is both easy and cheap, even cheaper than buying ready to use angle adapters. Buy a 90 degree aluminium bar in your favorite local hardware store, cut it with a miter saw to the correct dimensions and drill a couple of 7mm holes to connect the aluminium extrusion profiles with the alumium mounting support of the solar panels using 6mm machine screws and spring washers. Spring washers are very important, as the vehicle constantly moves and you don't want your solar panels to fly off the roof while driving.
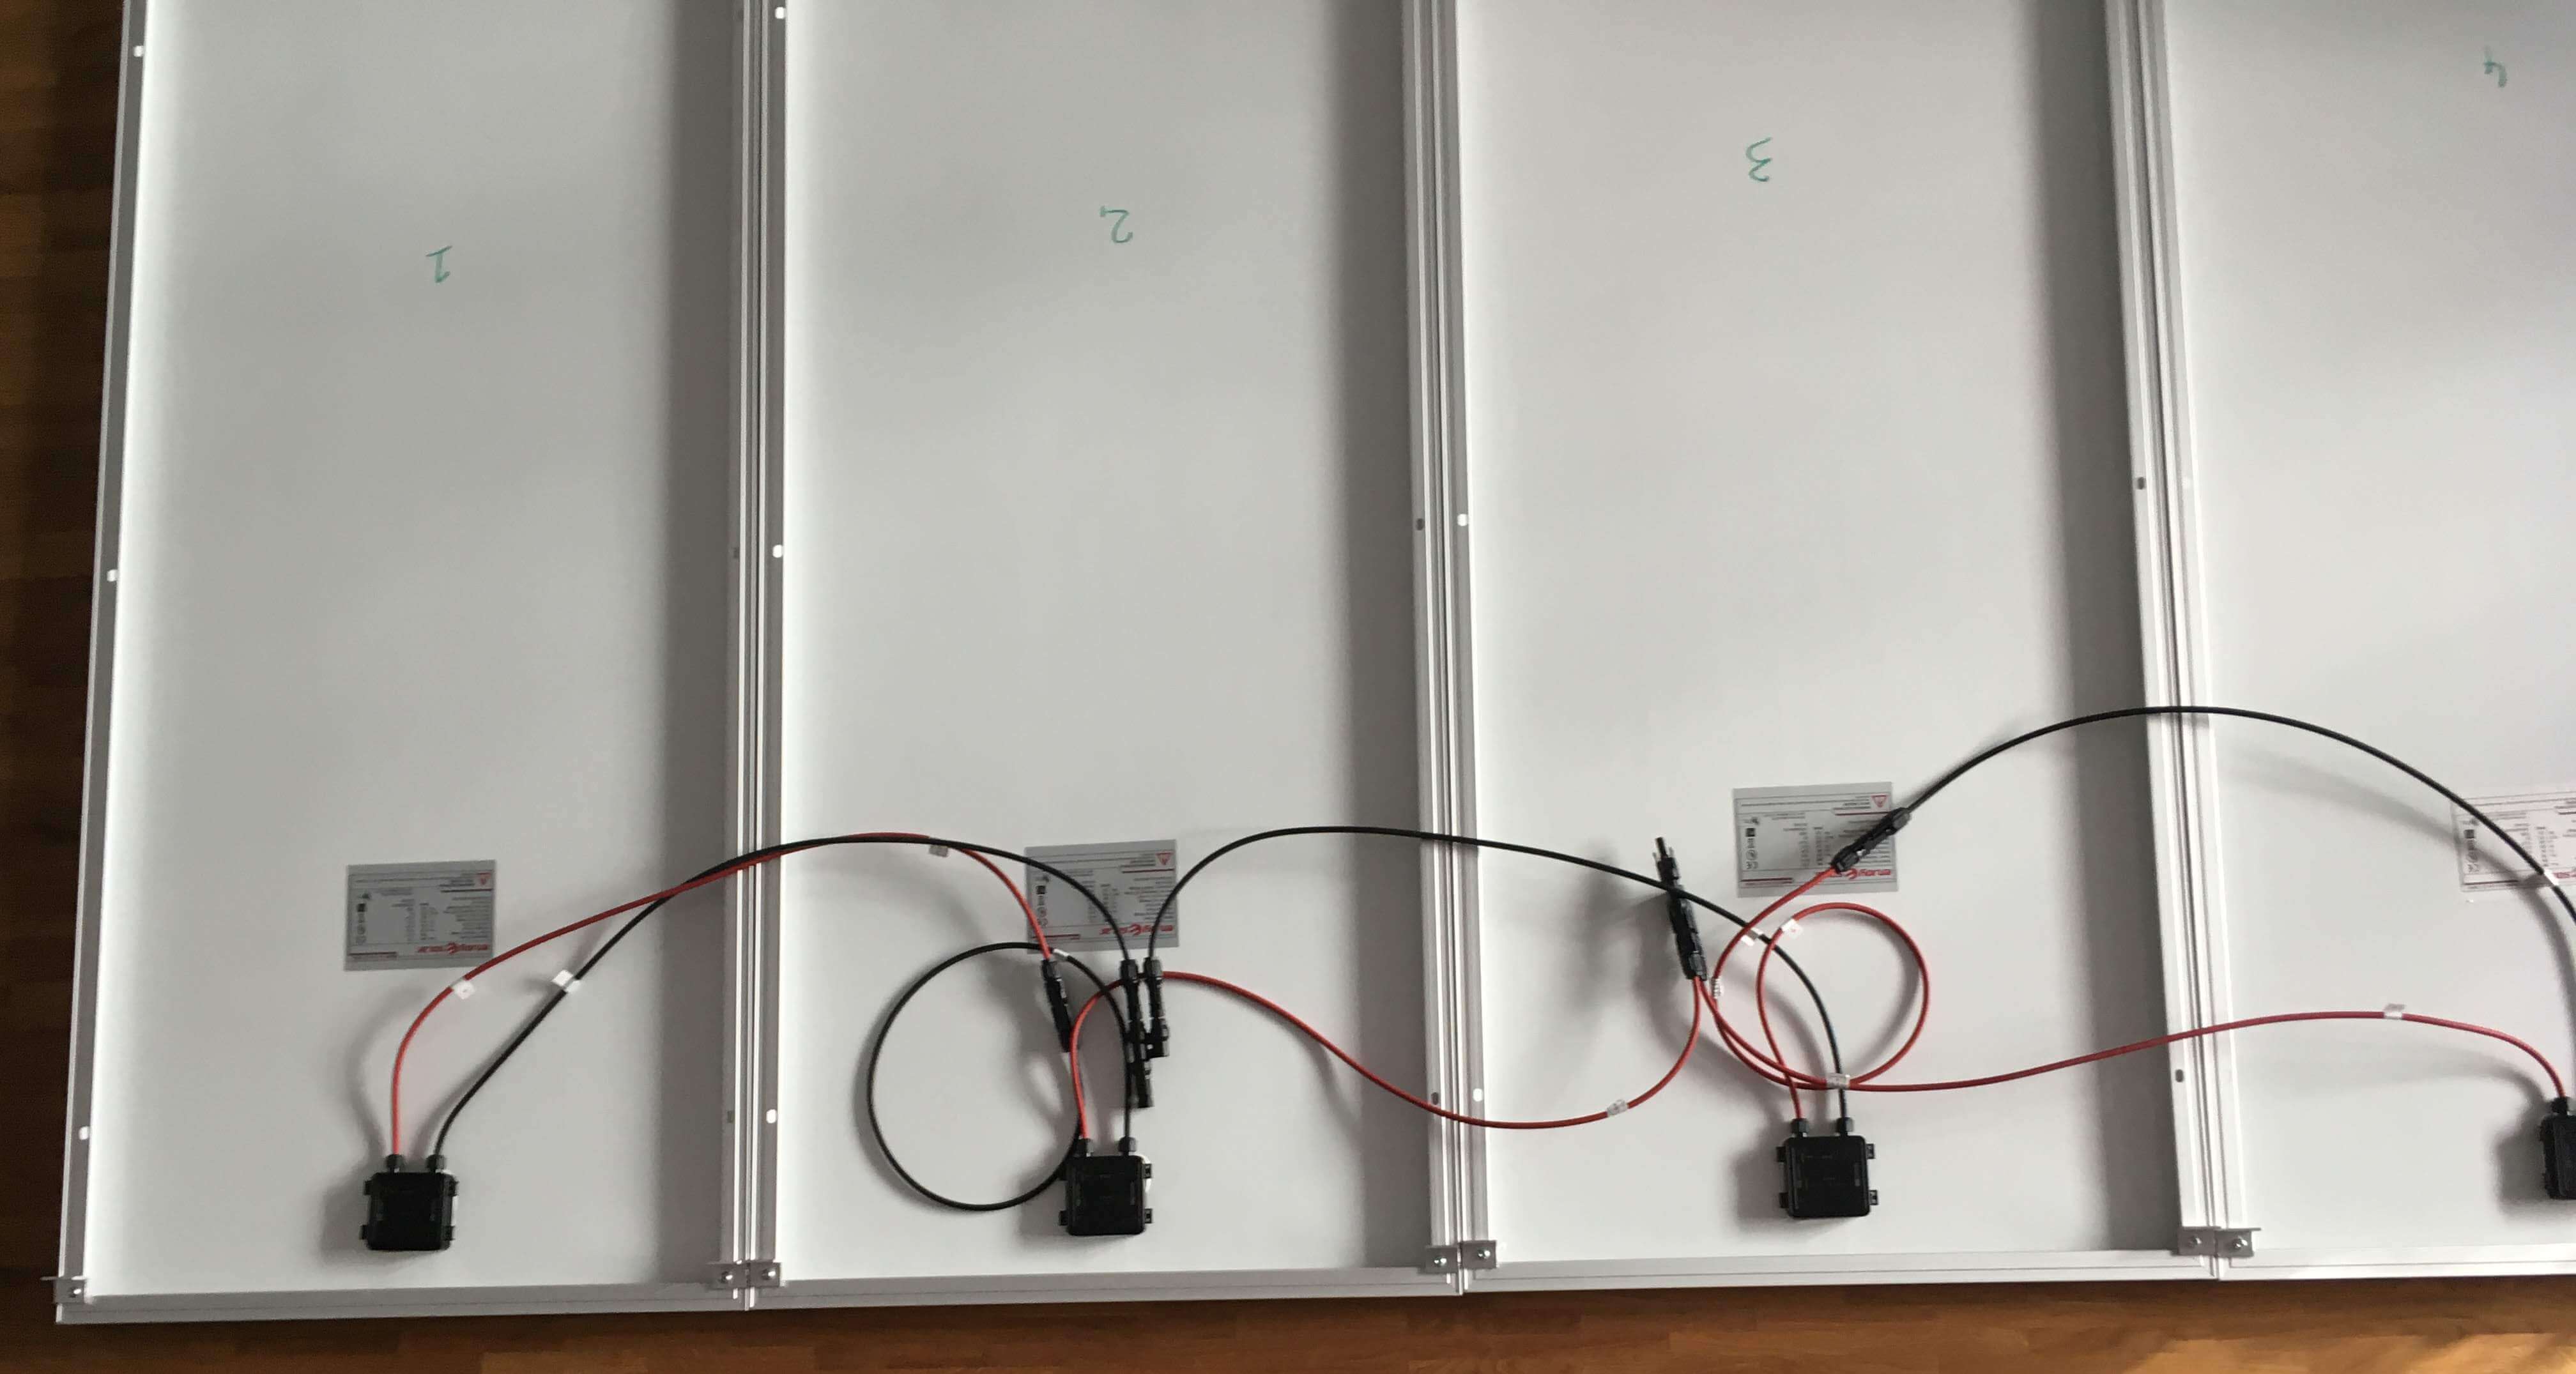
After dry fitting everything together, think about how you want to connect your solar panels. We have four solar panels and we chose to wire them together in series and then in parallel, giving us the benefits of both worlds. Wiring in series means that the solar panels reach the minium charging voltage that the solar charge controller needs in order to start working early in the day. Amazingly, the solar charge controller starts working even before the sun goes up due to the reflections in the atmoshpere. Wiring all four solar panels in series would not have improved this any further, because once the voltage threshhold is reached, charging begins. Therefore we wired the two serial "panel pairs" together in parallel, so that we only loose half of our charging power if one of our solar panels is shadowed.
After the preparation it is time for the installation. Make sure to clean your roof thouroughly, using alcohol or another suitable cleaner. Dry fit your aluminium profiles and add your solar panels. Mark the position of the aluminium profiles with marking tape. Remove the solar panels and aluminium profiles. If your construction glue requires a primer, use a primer. If not, directly add the glue to the roof. Stick on your aluminium profiles on both sides of the vehicle. Remove the marking tape and immediately add the solar panels. This is necessary so that the glue is distributed evenly (the roof has a curvature, which the glue needs to even out). Make sure to connect all cables before fixing all panels in position with the machine screws and spring washers.
Lastly, if you do not distinguish charging and discharging circuits (most installations don't), wire in a kill switch into the positive line going to the solar charge controller. This allows you to disable your electric setup in case of troubleshooting. Otherwise, you may have electricity in your circuits even if your battery kill switch is activated. Also remember to use appropiately sized wires from the solar charge controller to the battery, as the solar charge controller typically decreases the voltage from the solar panels to the nominal 12V voltage of the battery bank, therefore requiring a larger wire diameter. Also wire in a fuse in accordance with the manual of the solar charge controller that you use.